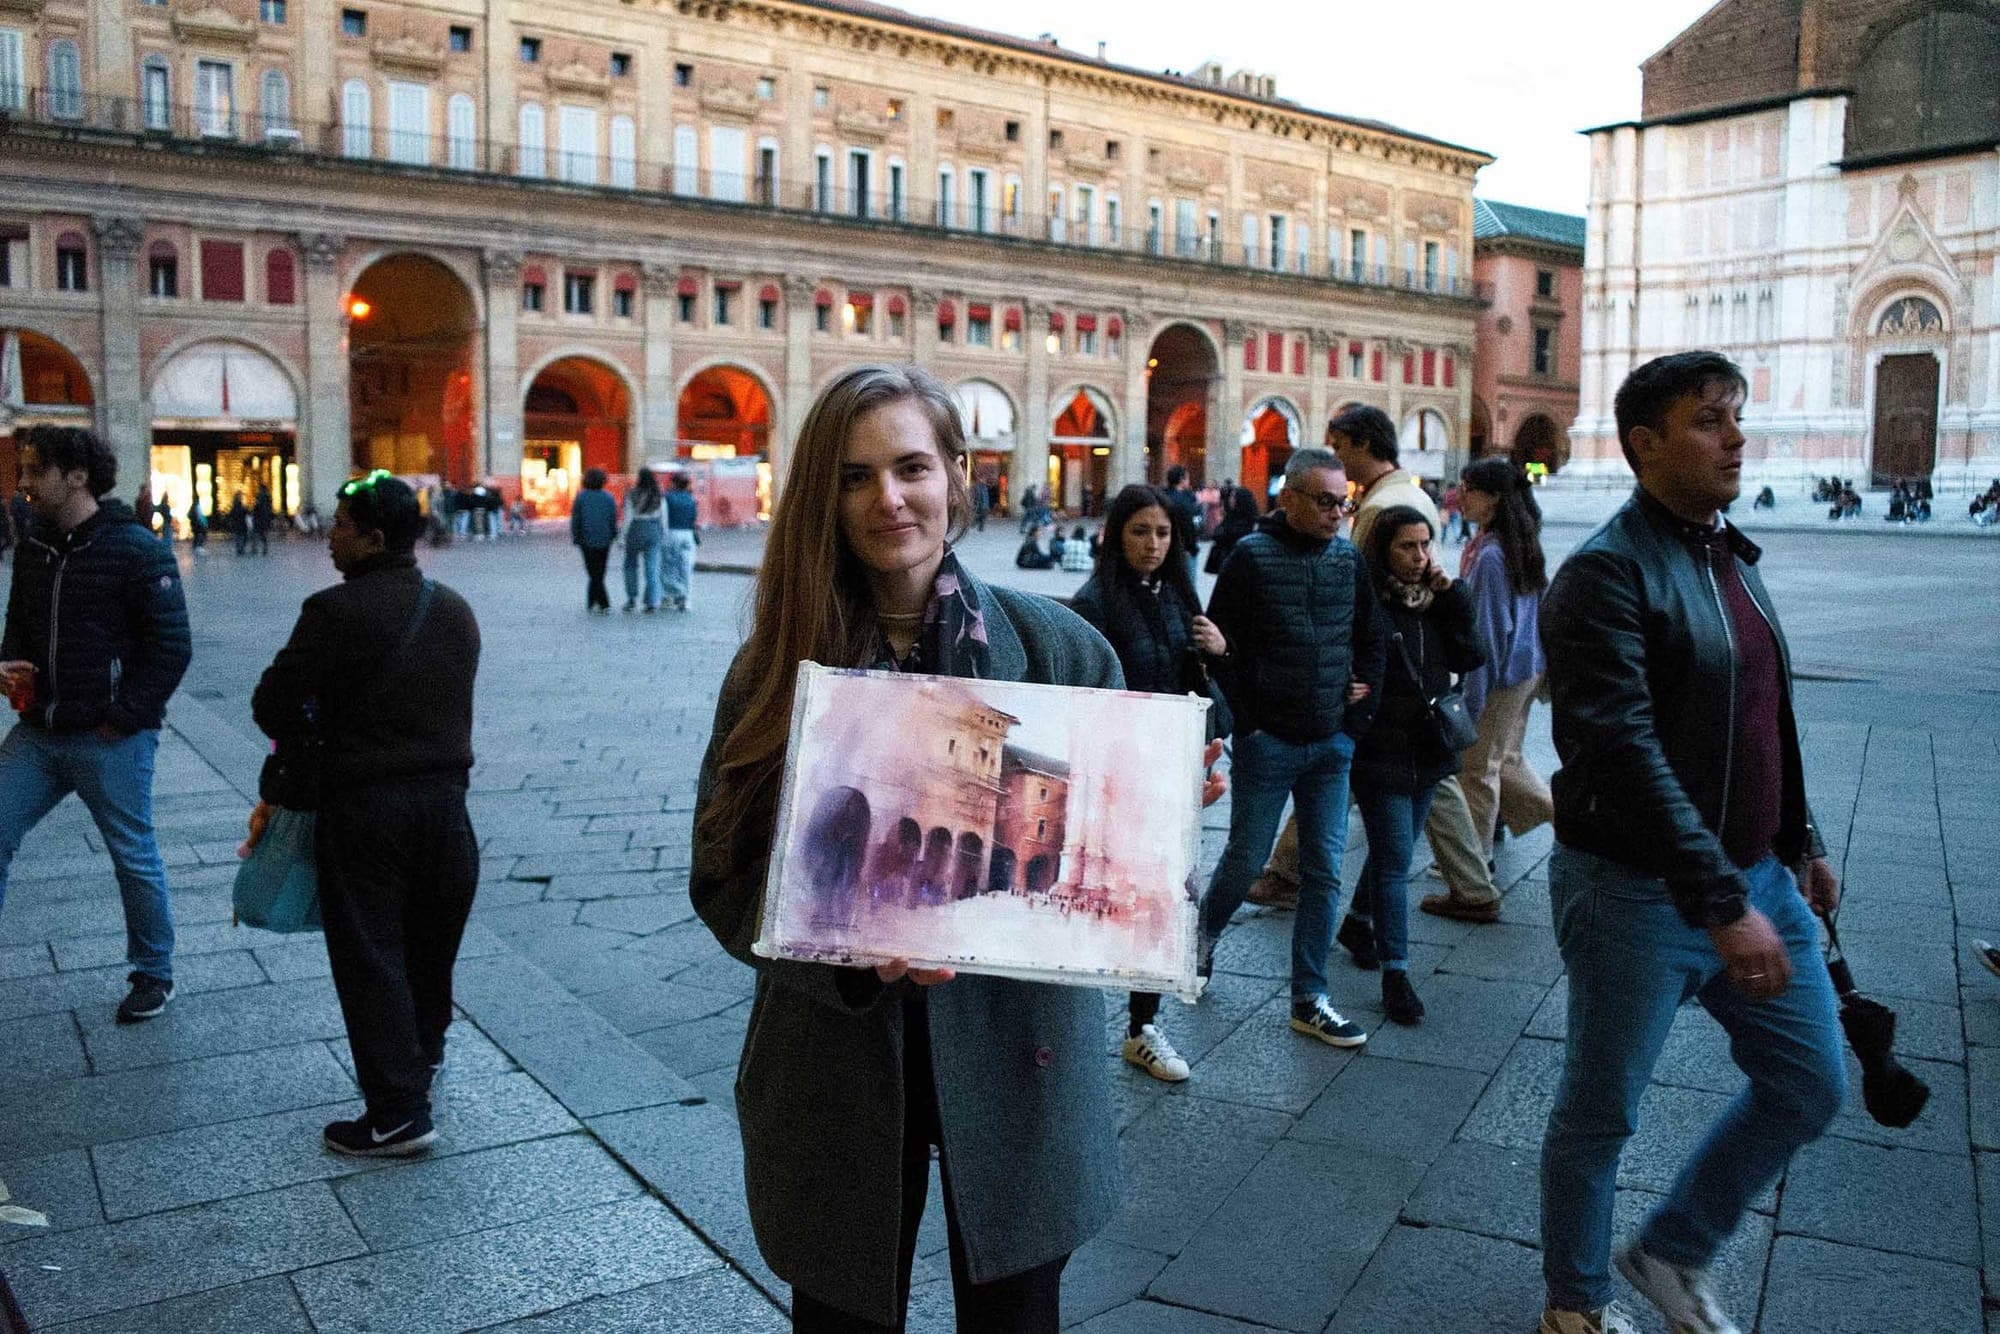

For what kind of art does your heart beat?
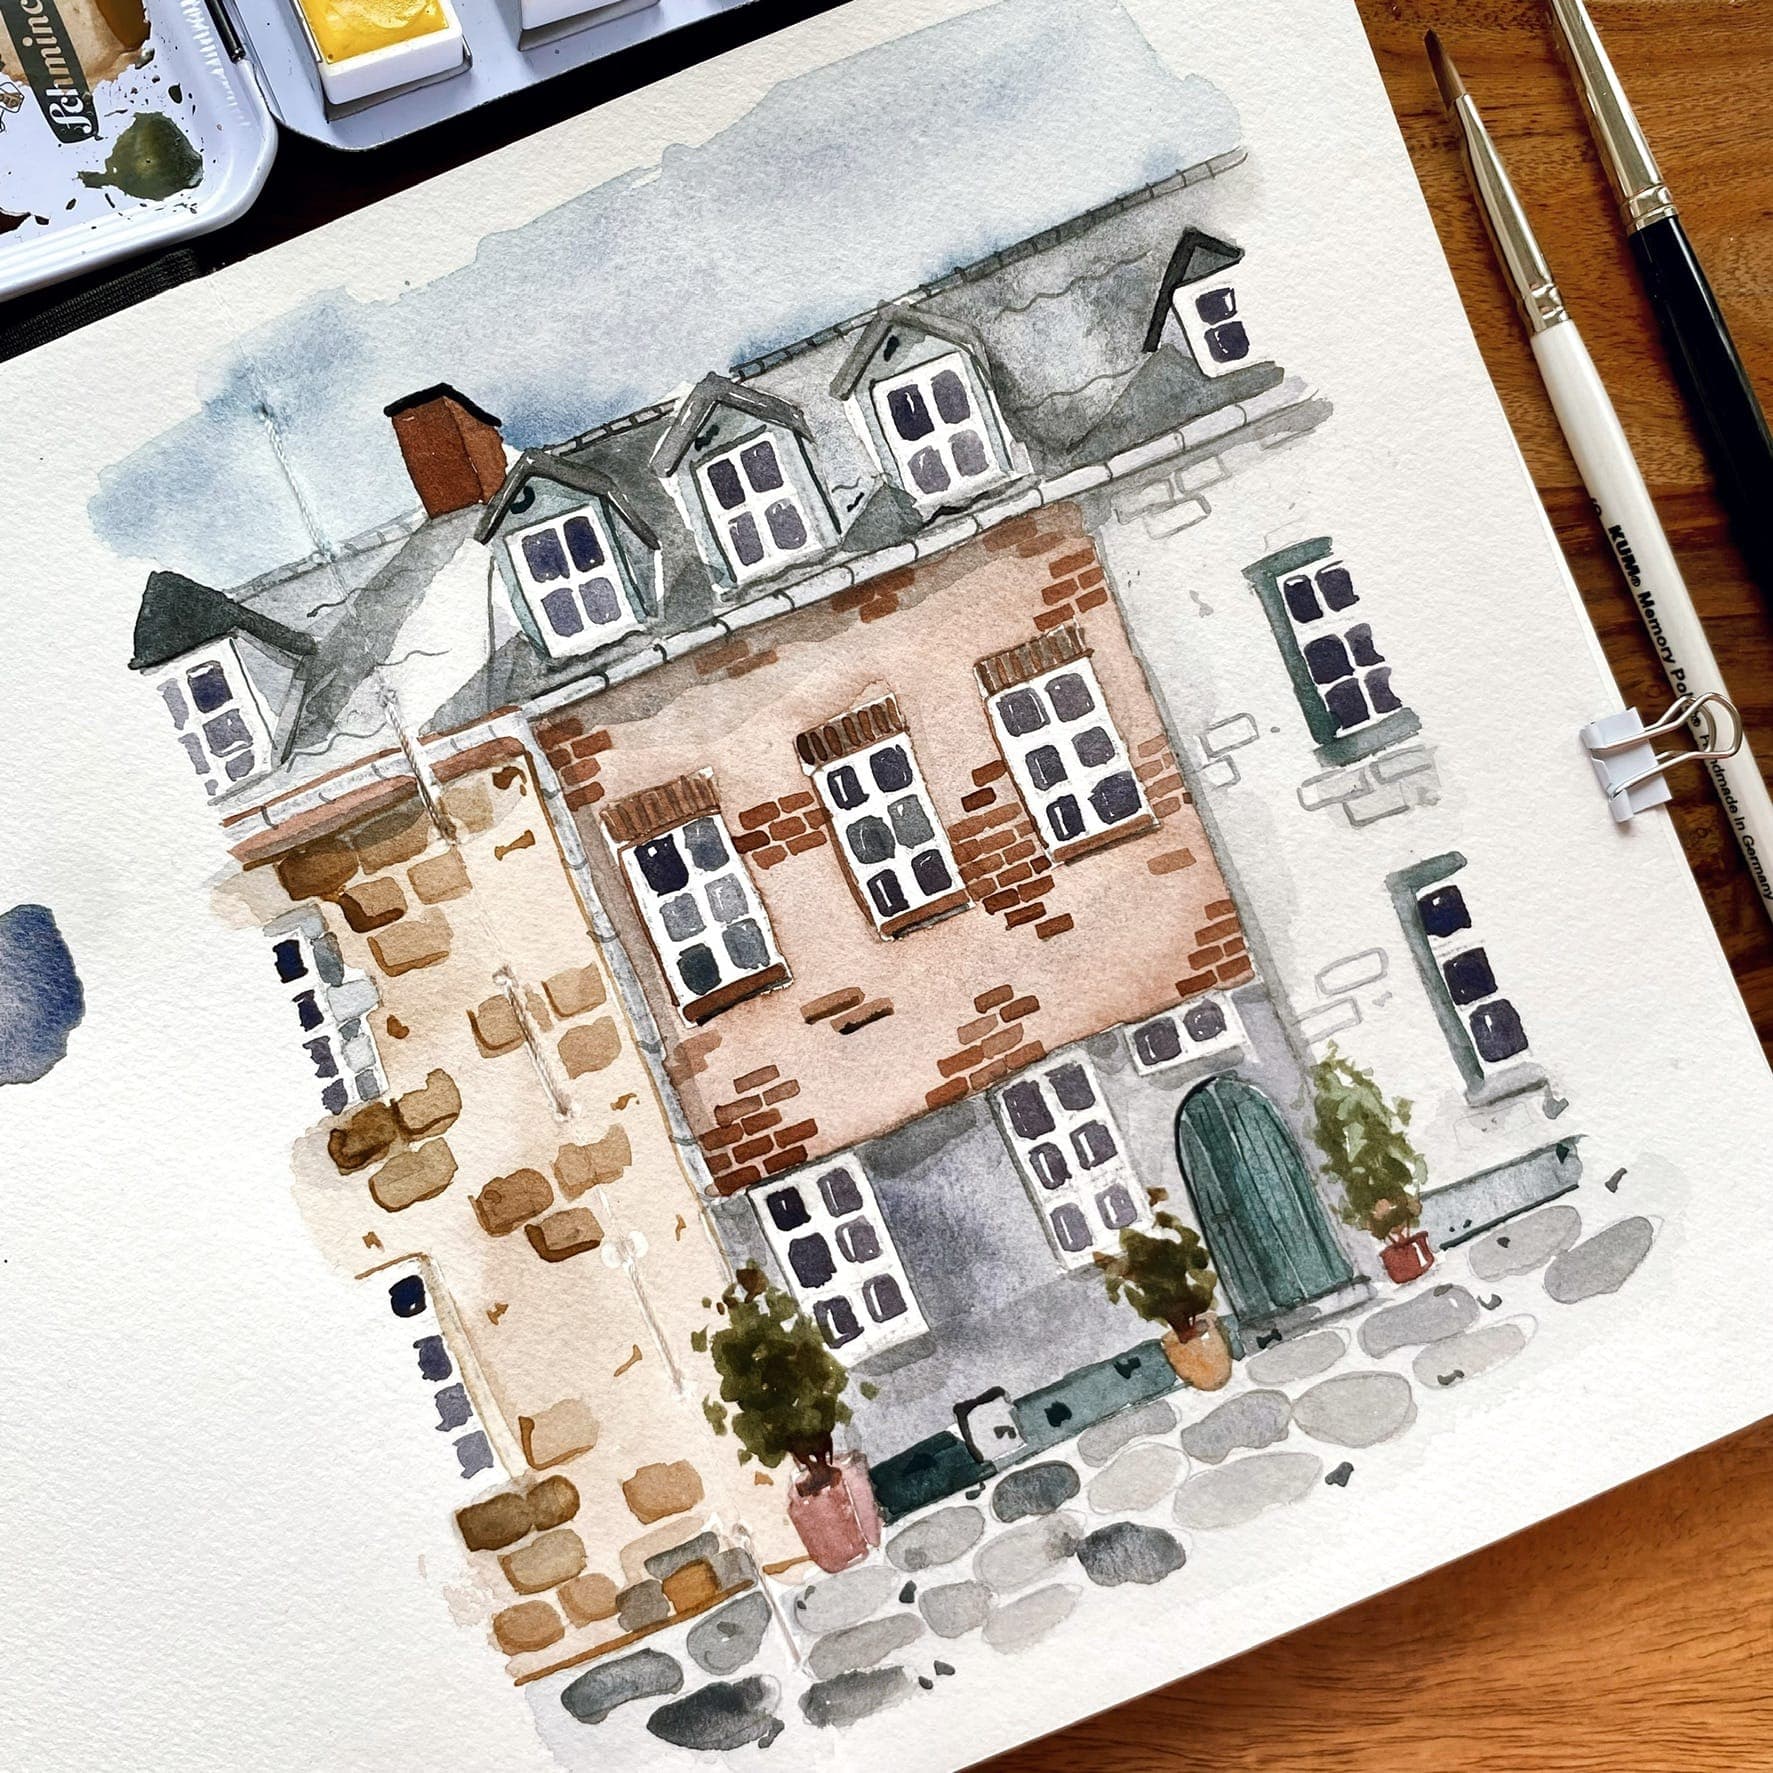
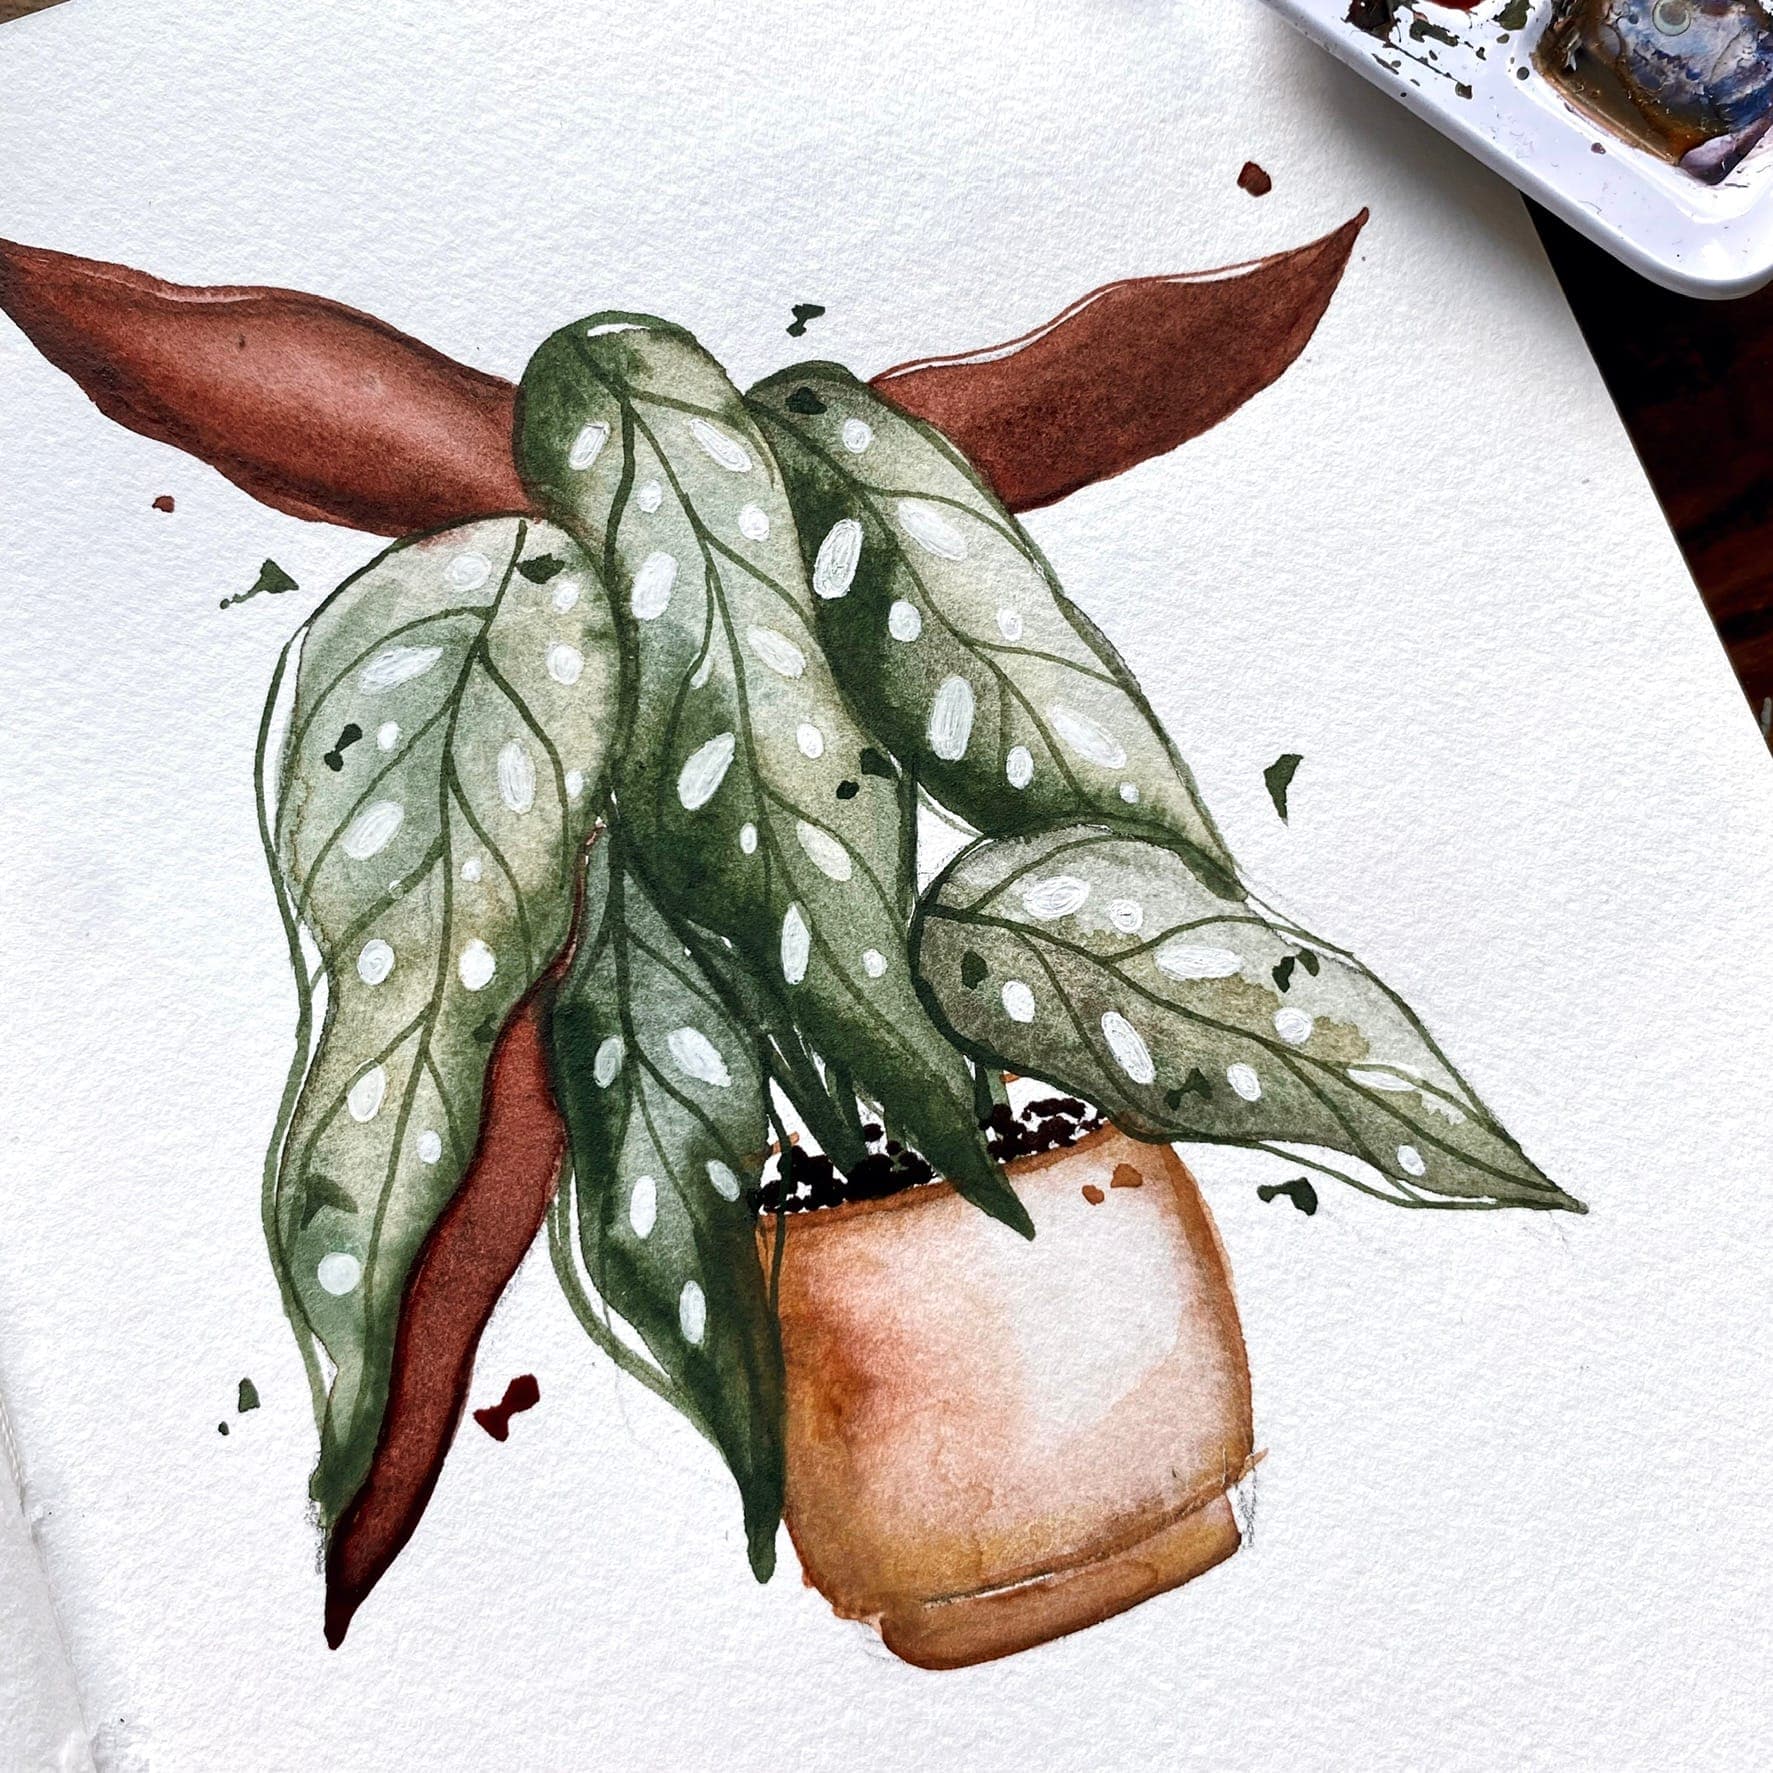
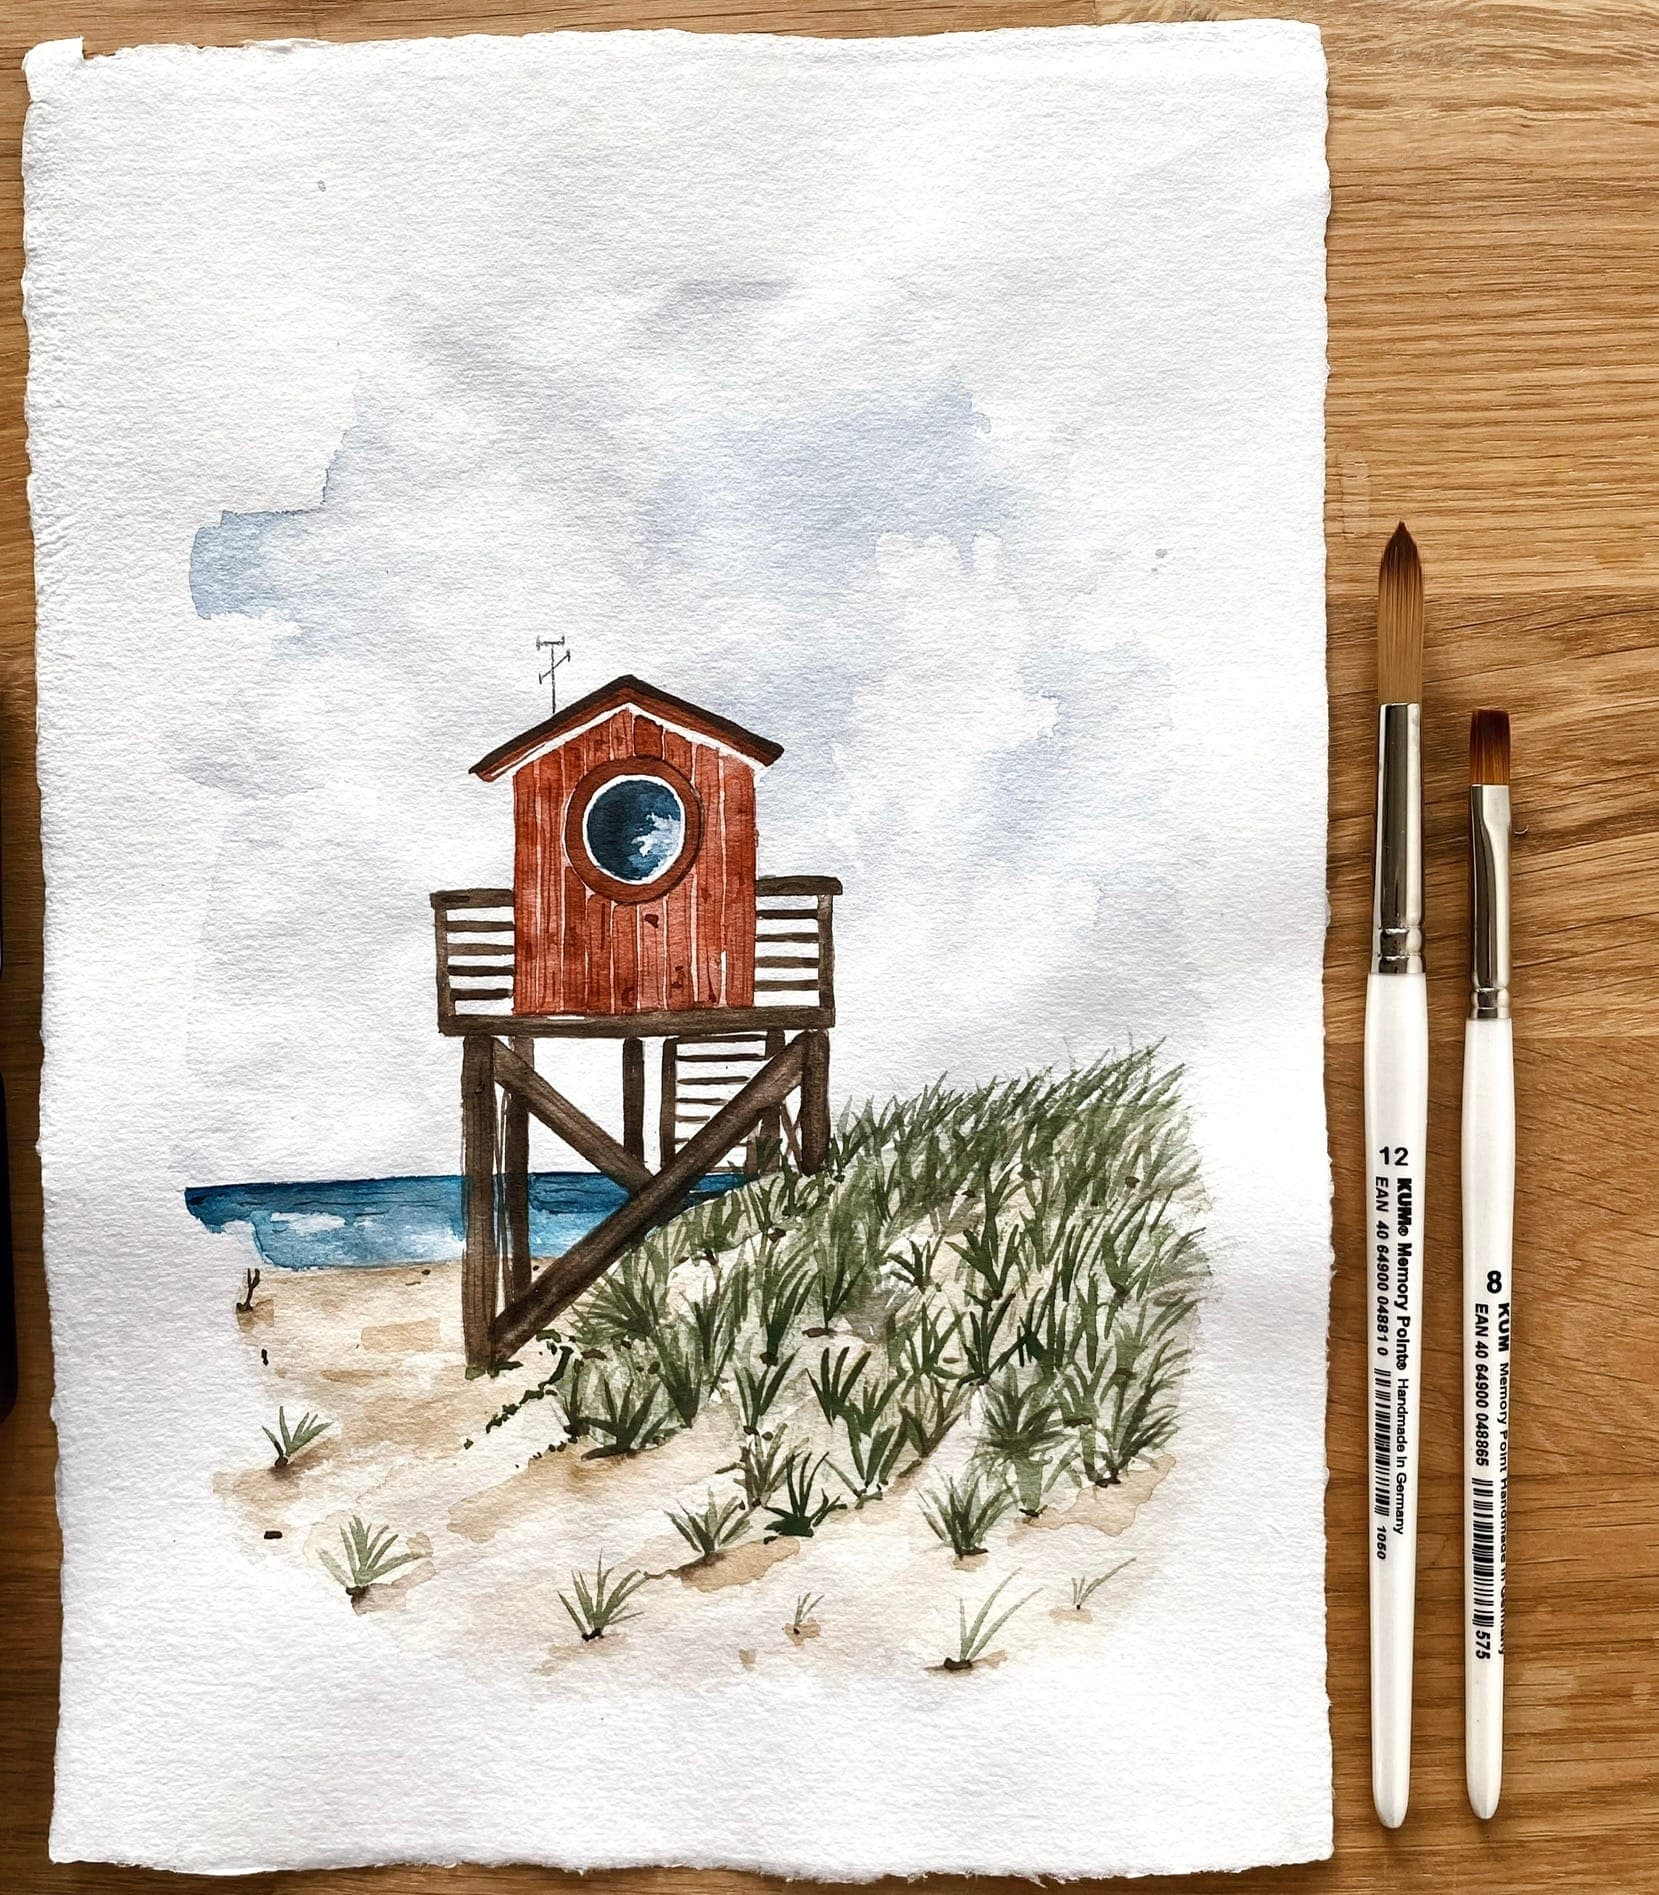
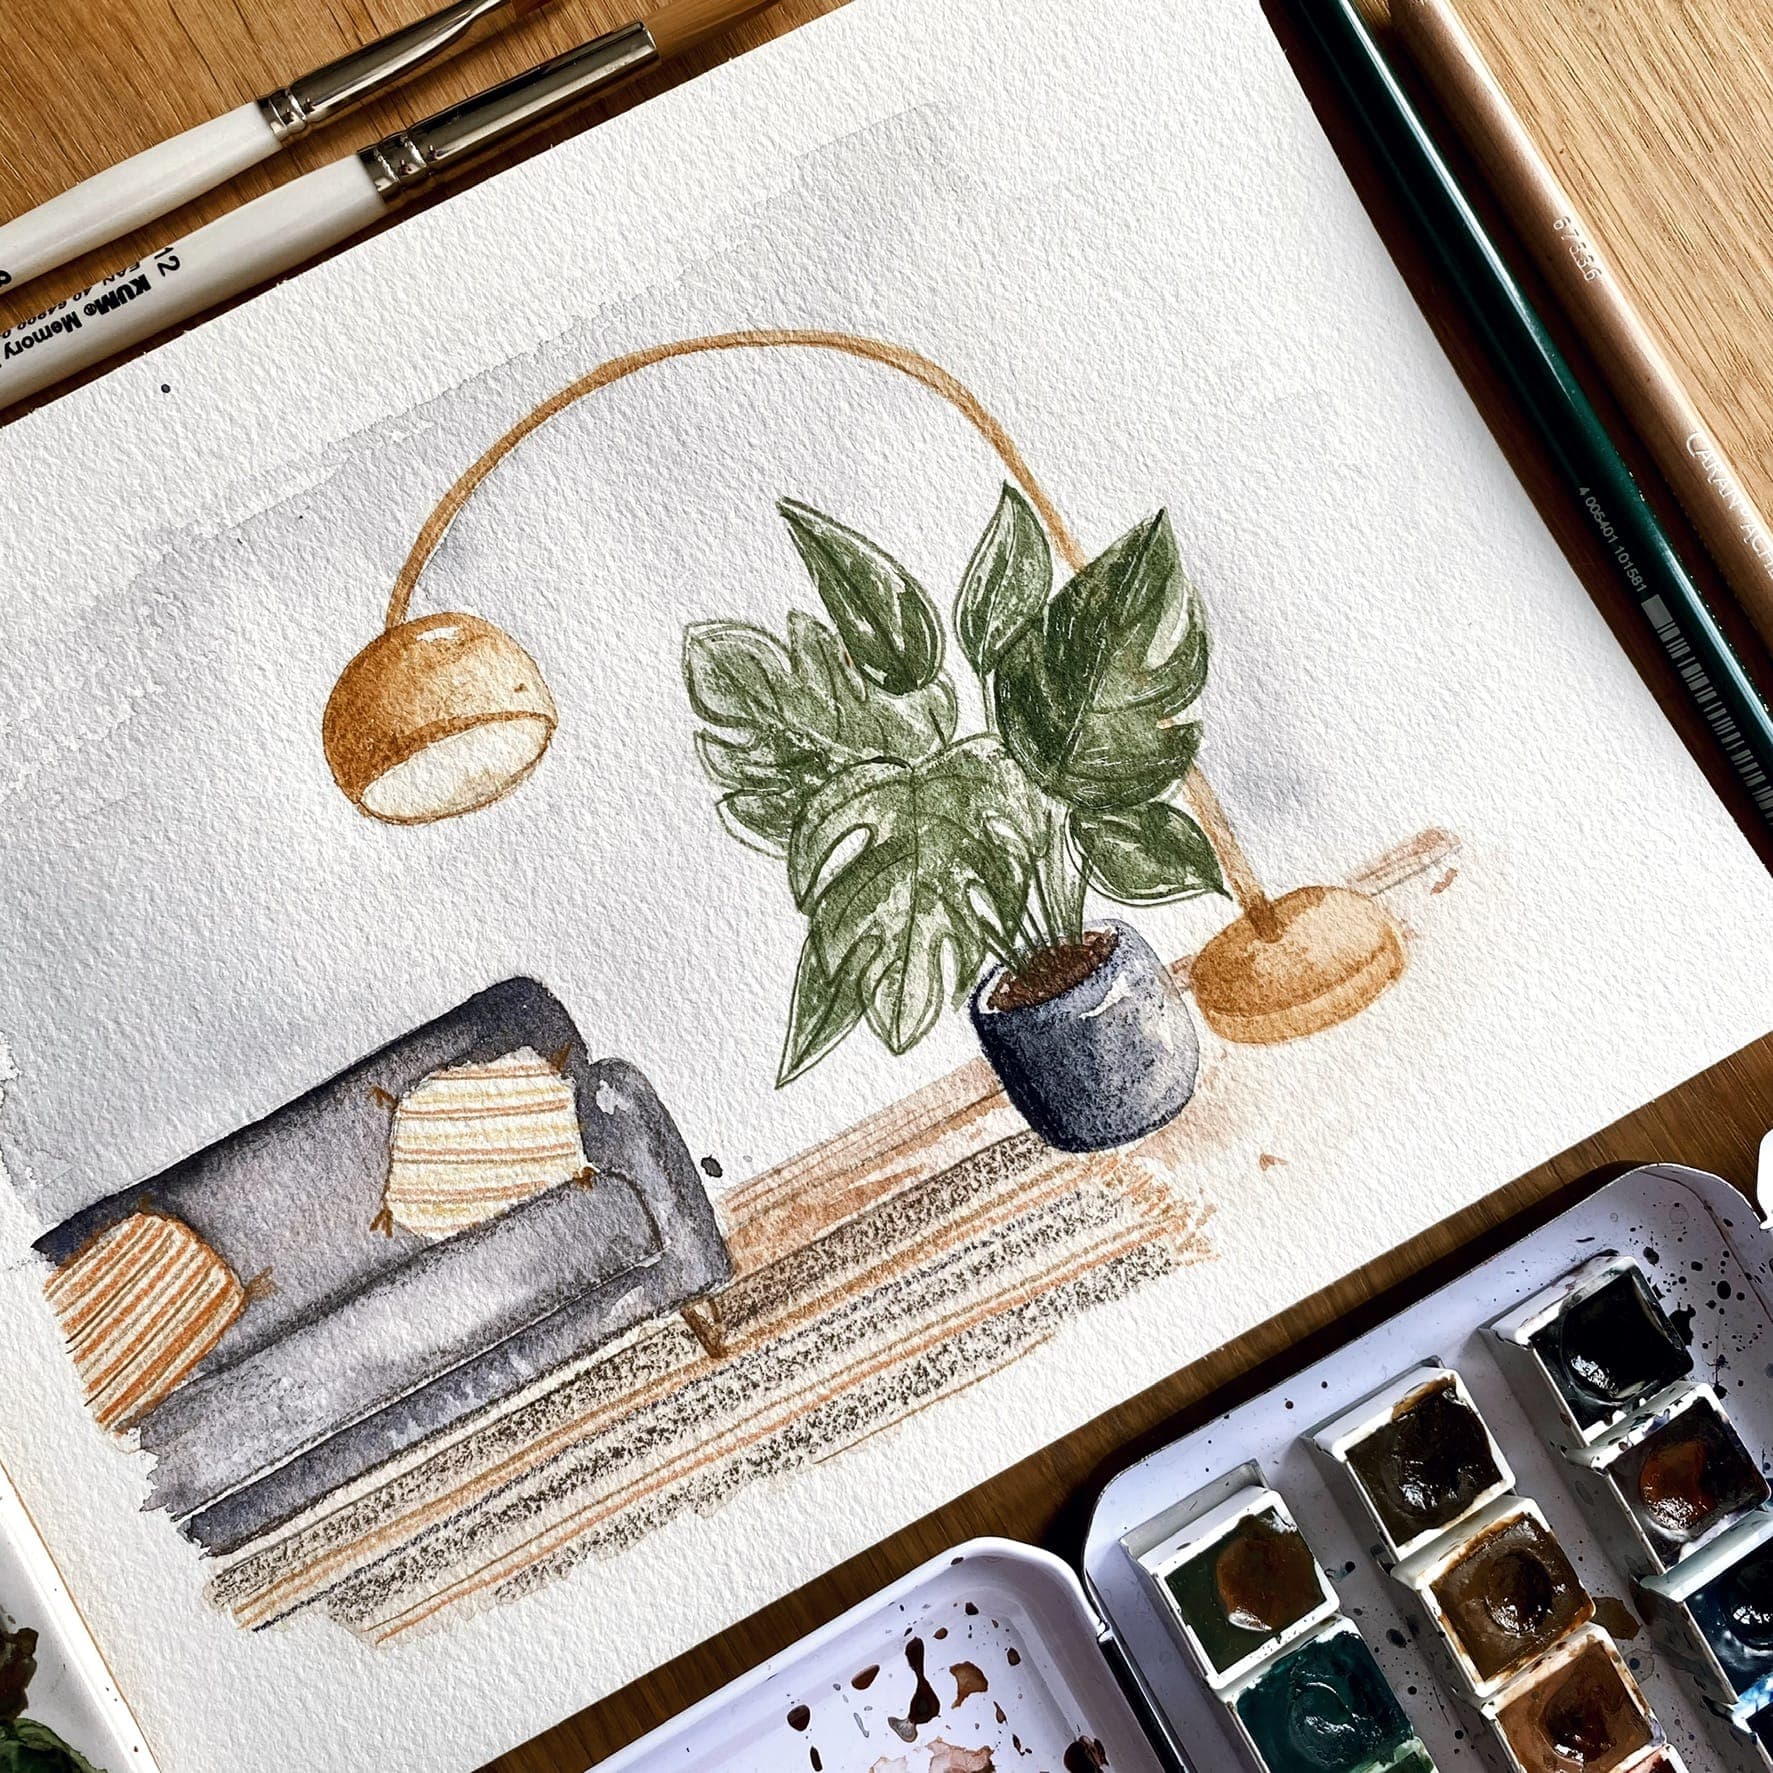
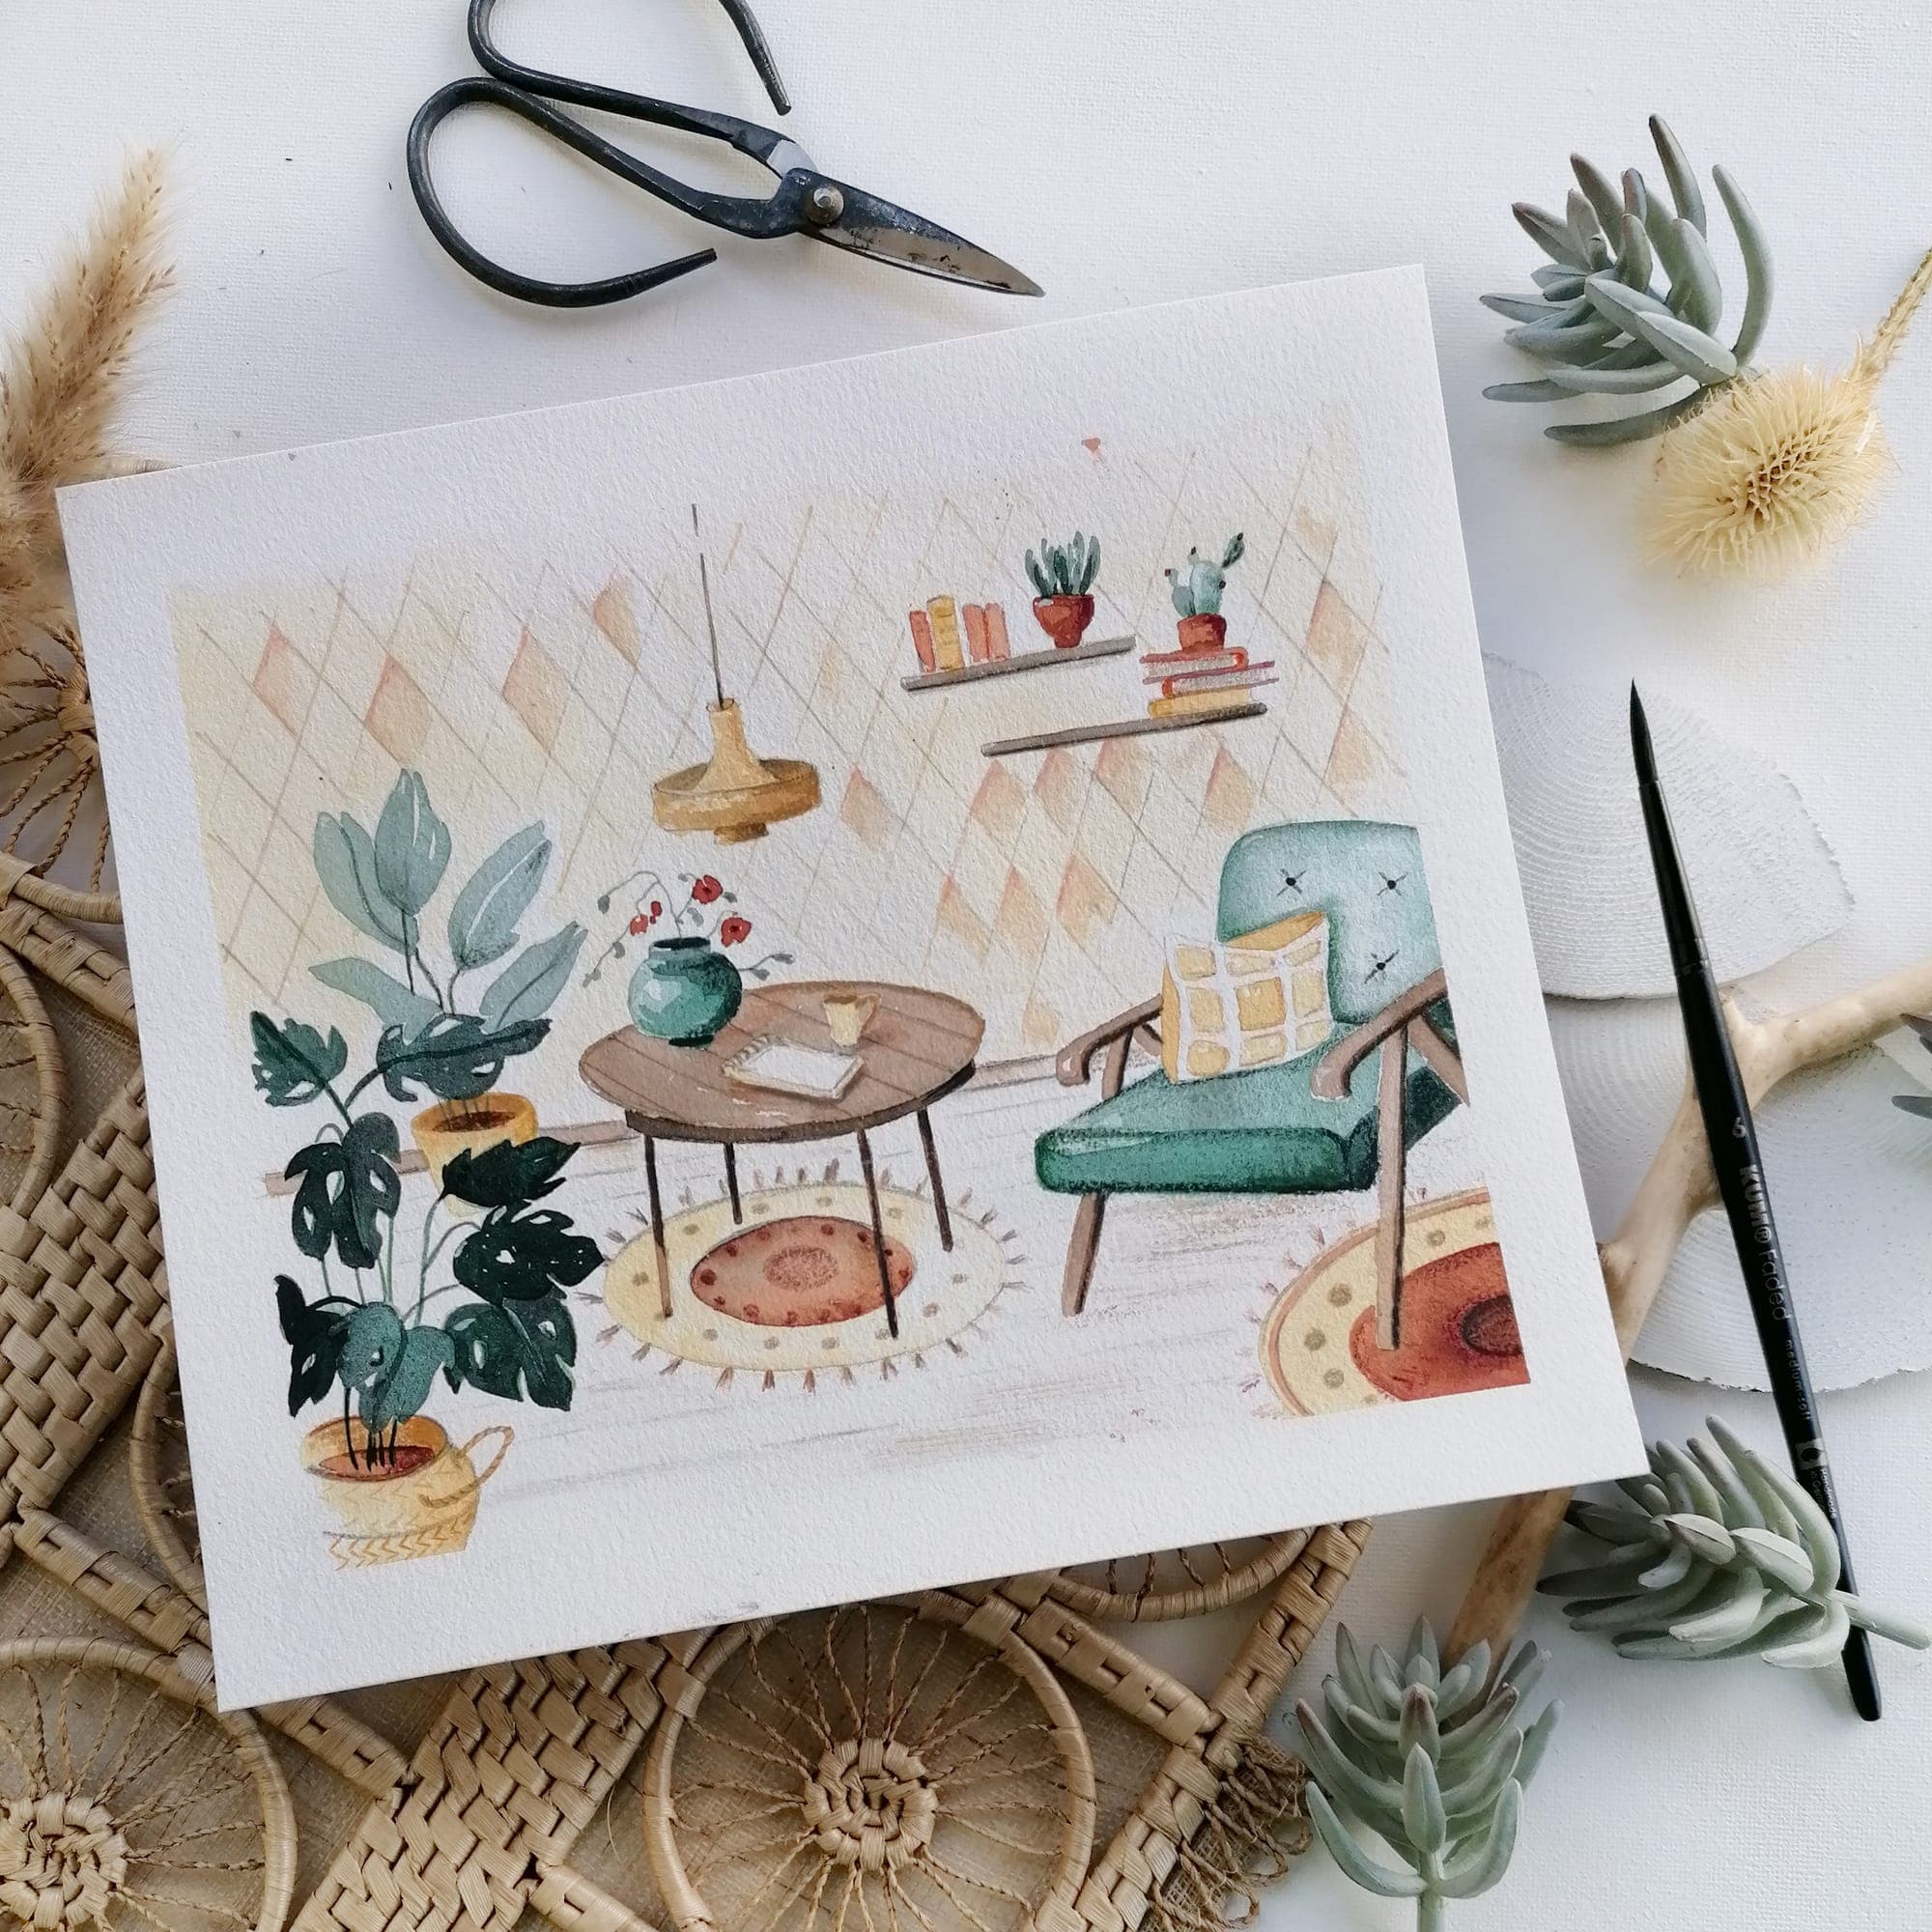
Any kind of loose watercolour or watercolour illustrations, but lately my heart also beats for mixed media & gouache.
Where do you see your recognition value?
My illustrations are loose and always colourful, but with beautiful darkened nuances. Also in my loose “speckle dabs” and my not too perfectionistic approach to illustrations.
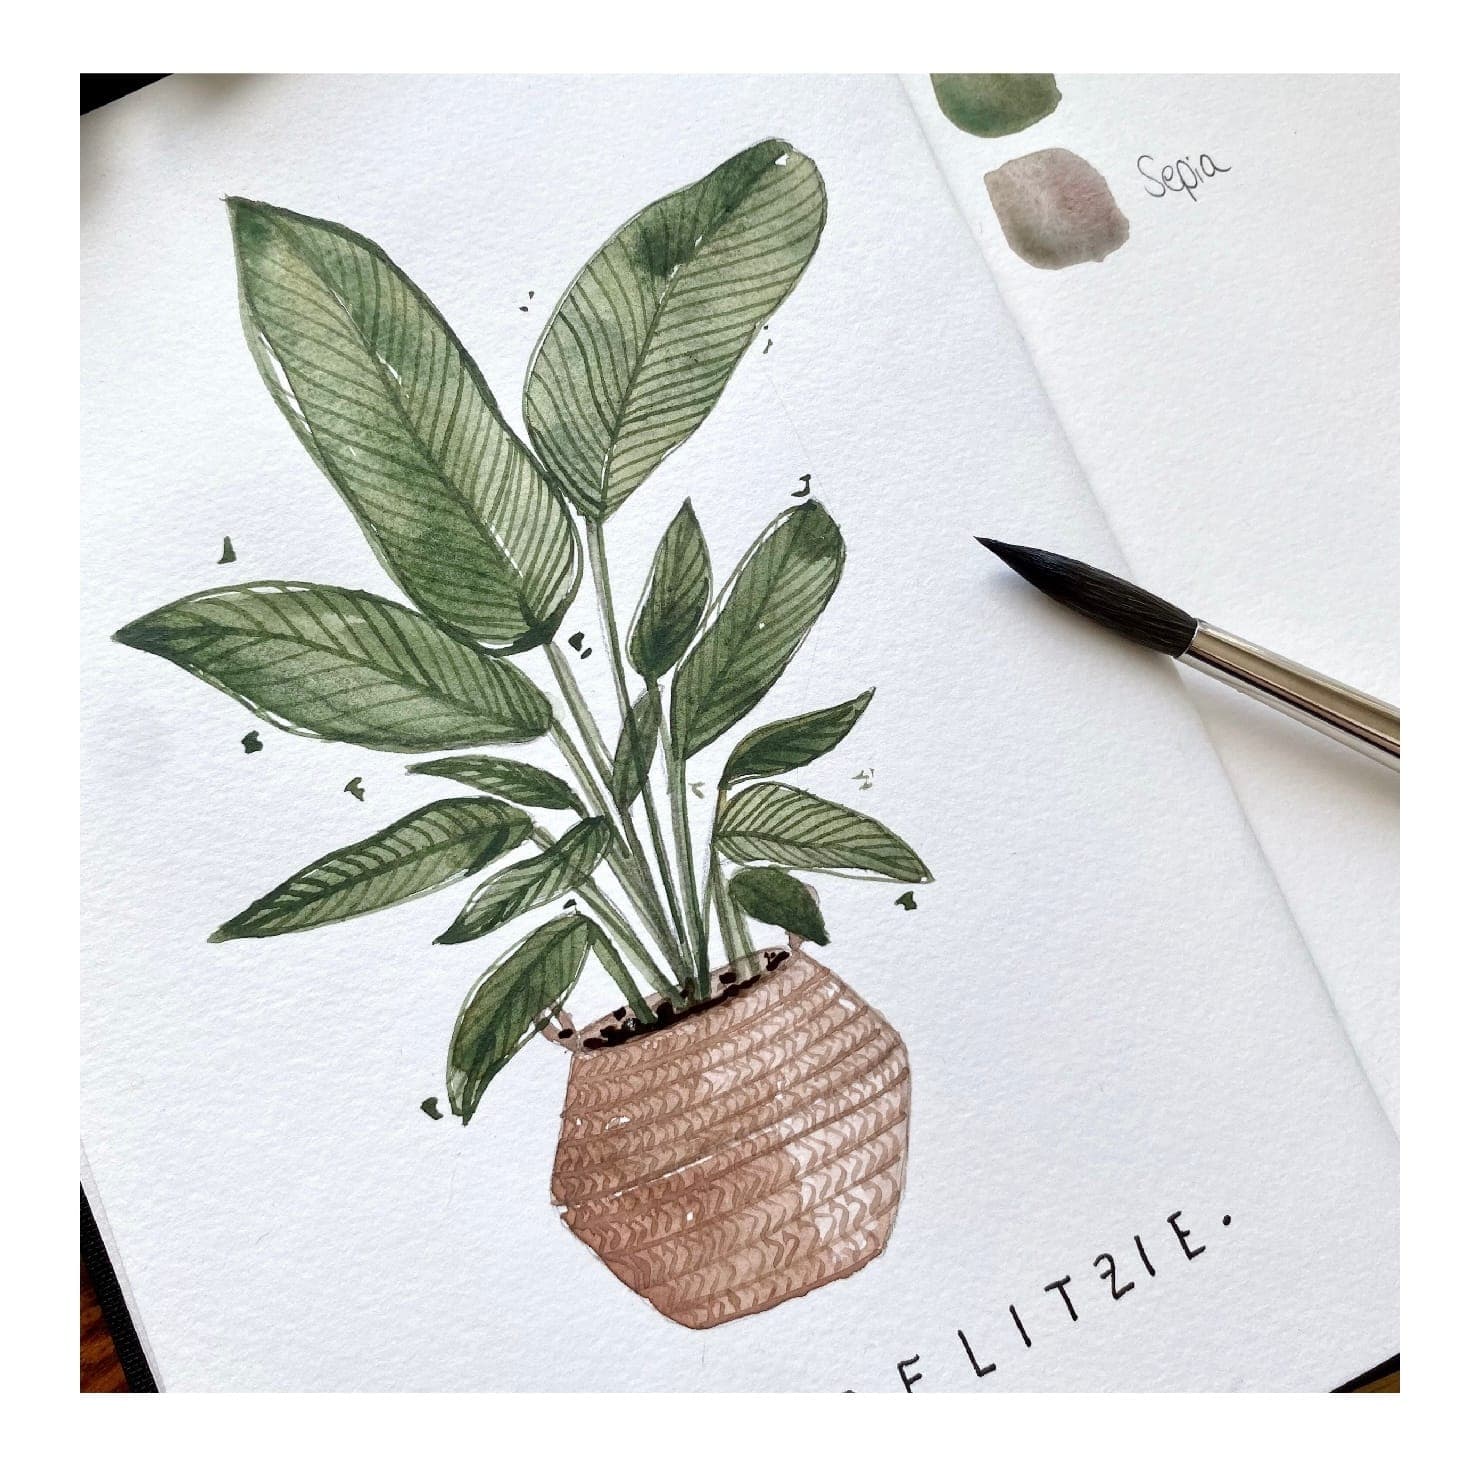
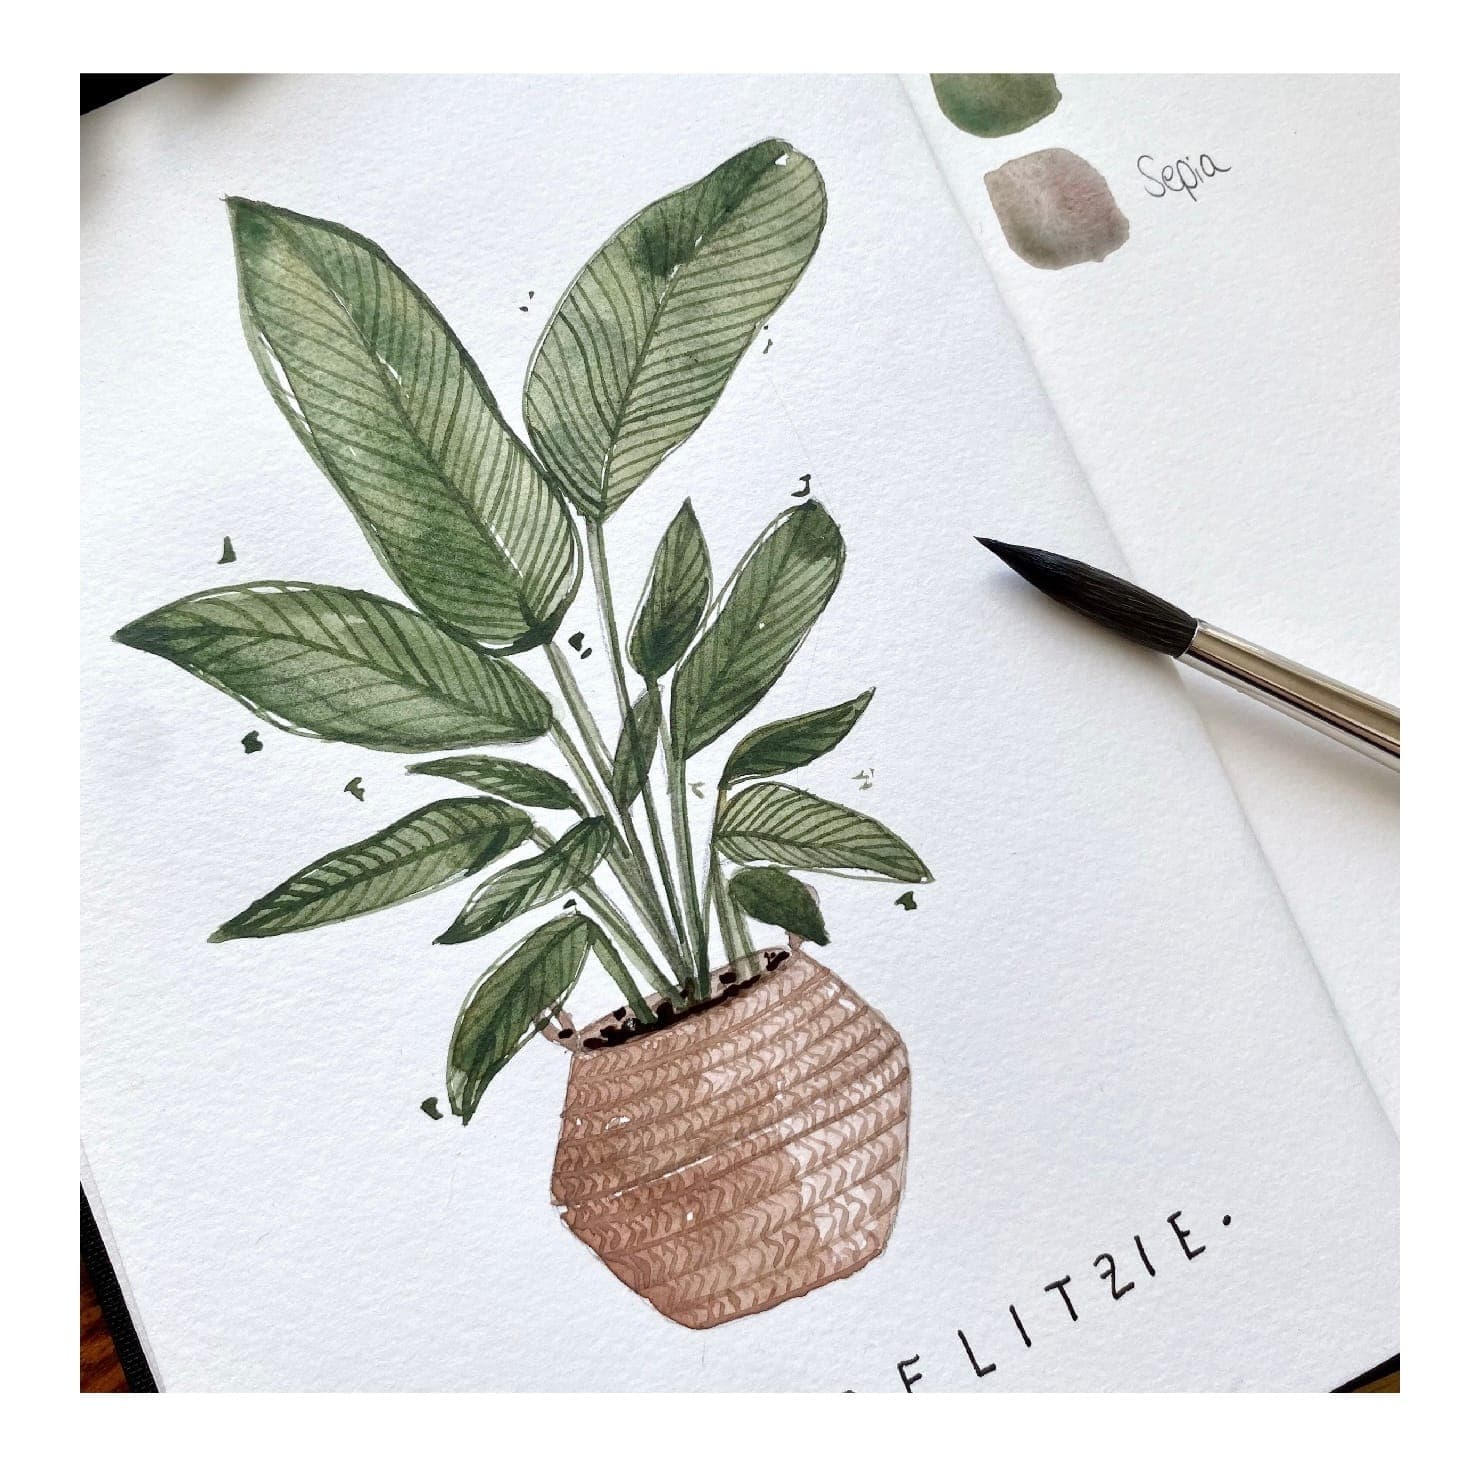
How to paint a strelitzia
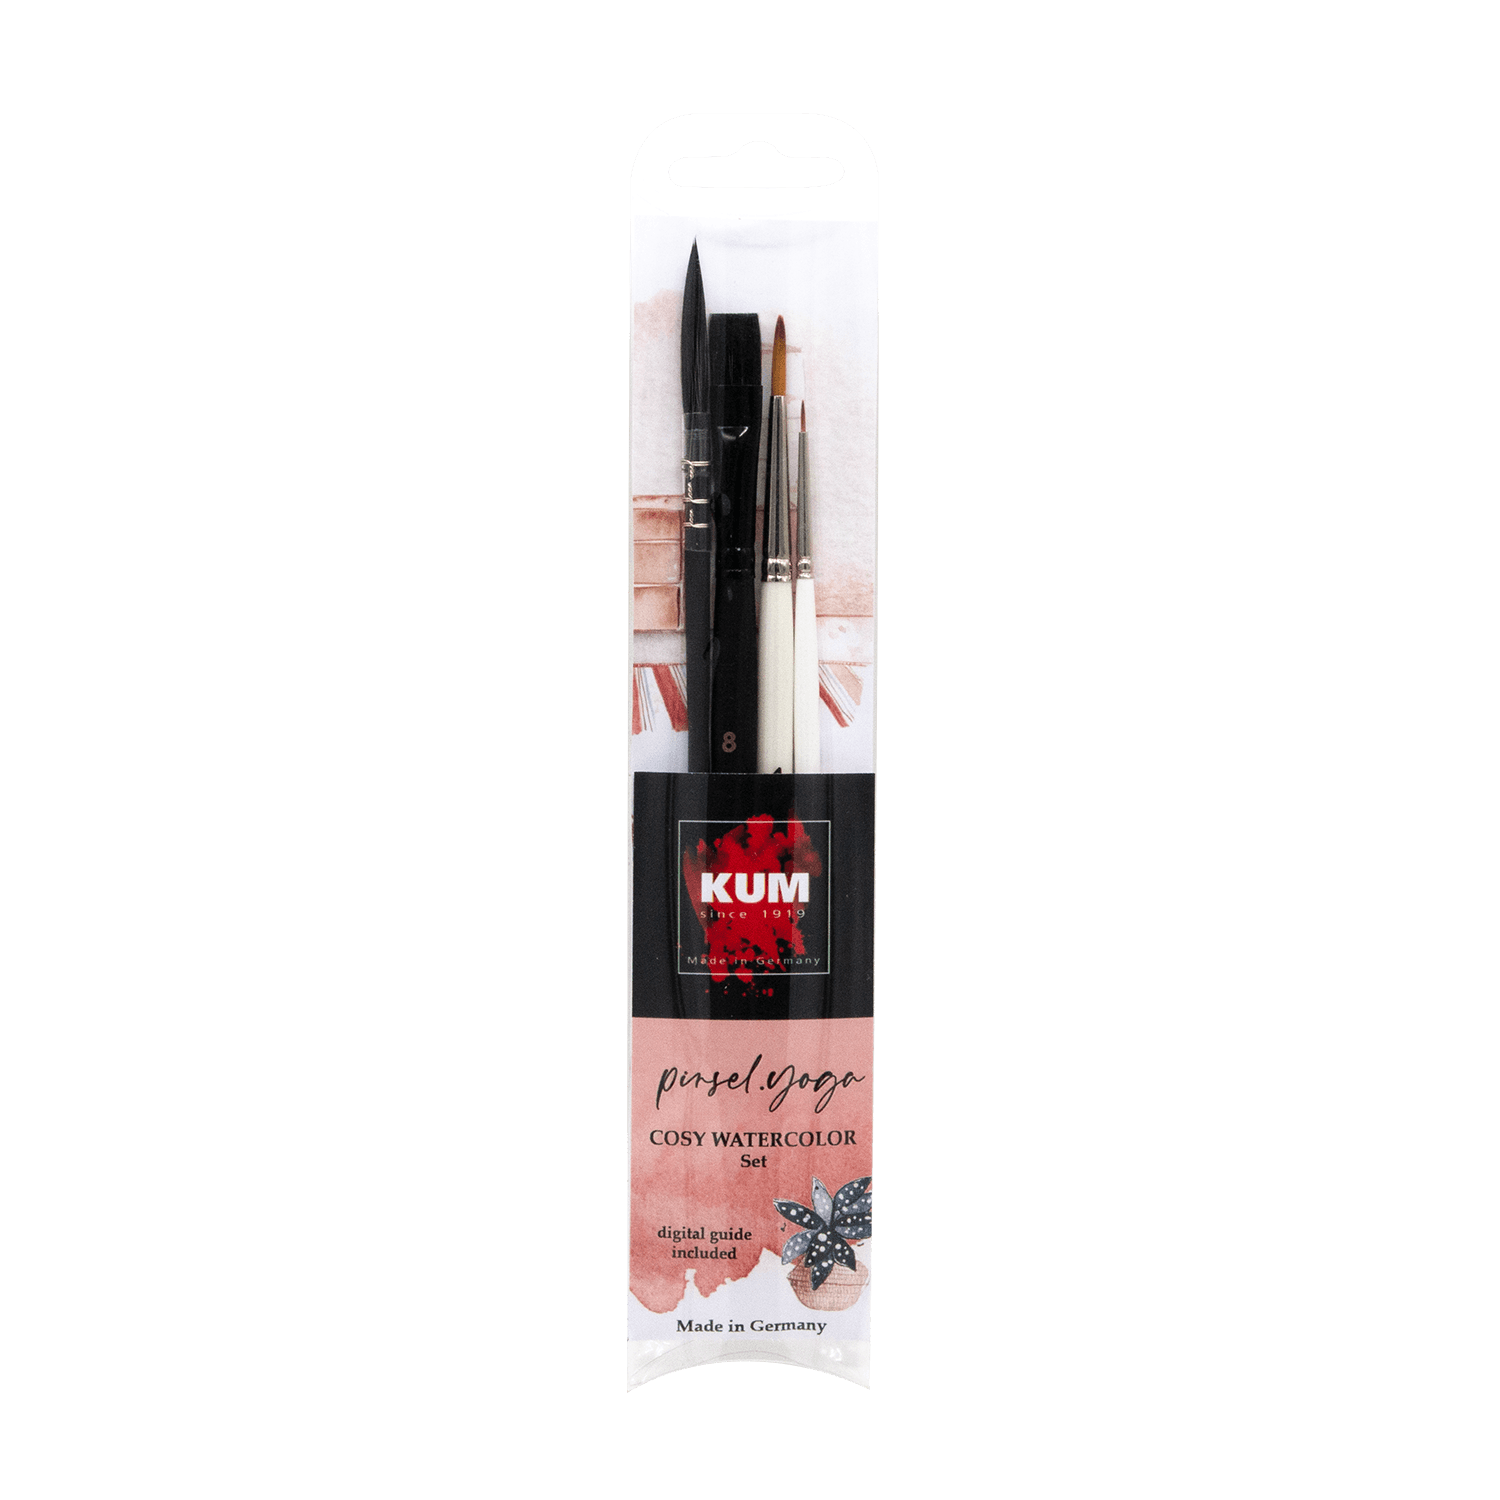
You’ll only need the watercolour shades you prefer and some round brushes. I used Schmincke Horadam Supergranulating Watercolors and KUM Memory Point round brushes.
Step 1
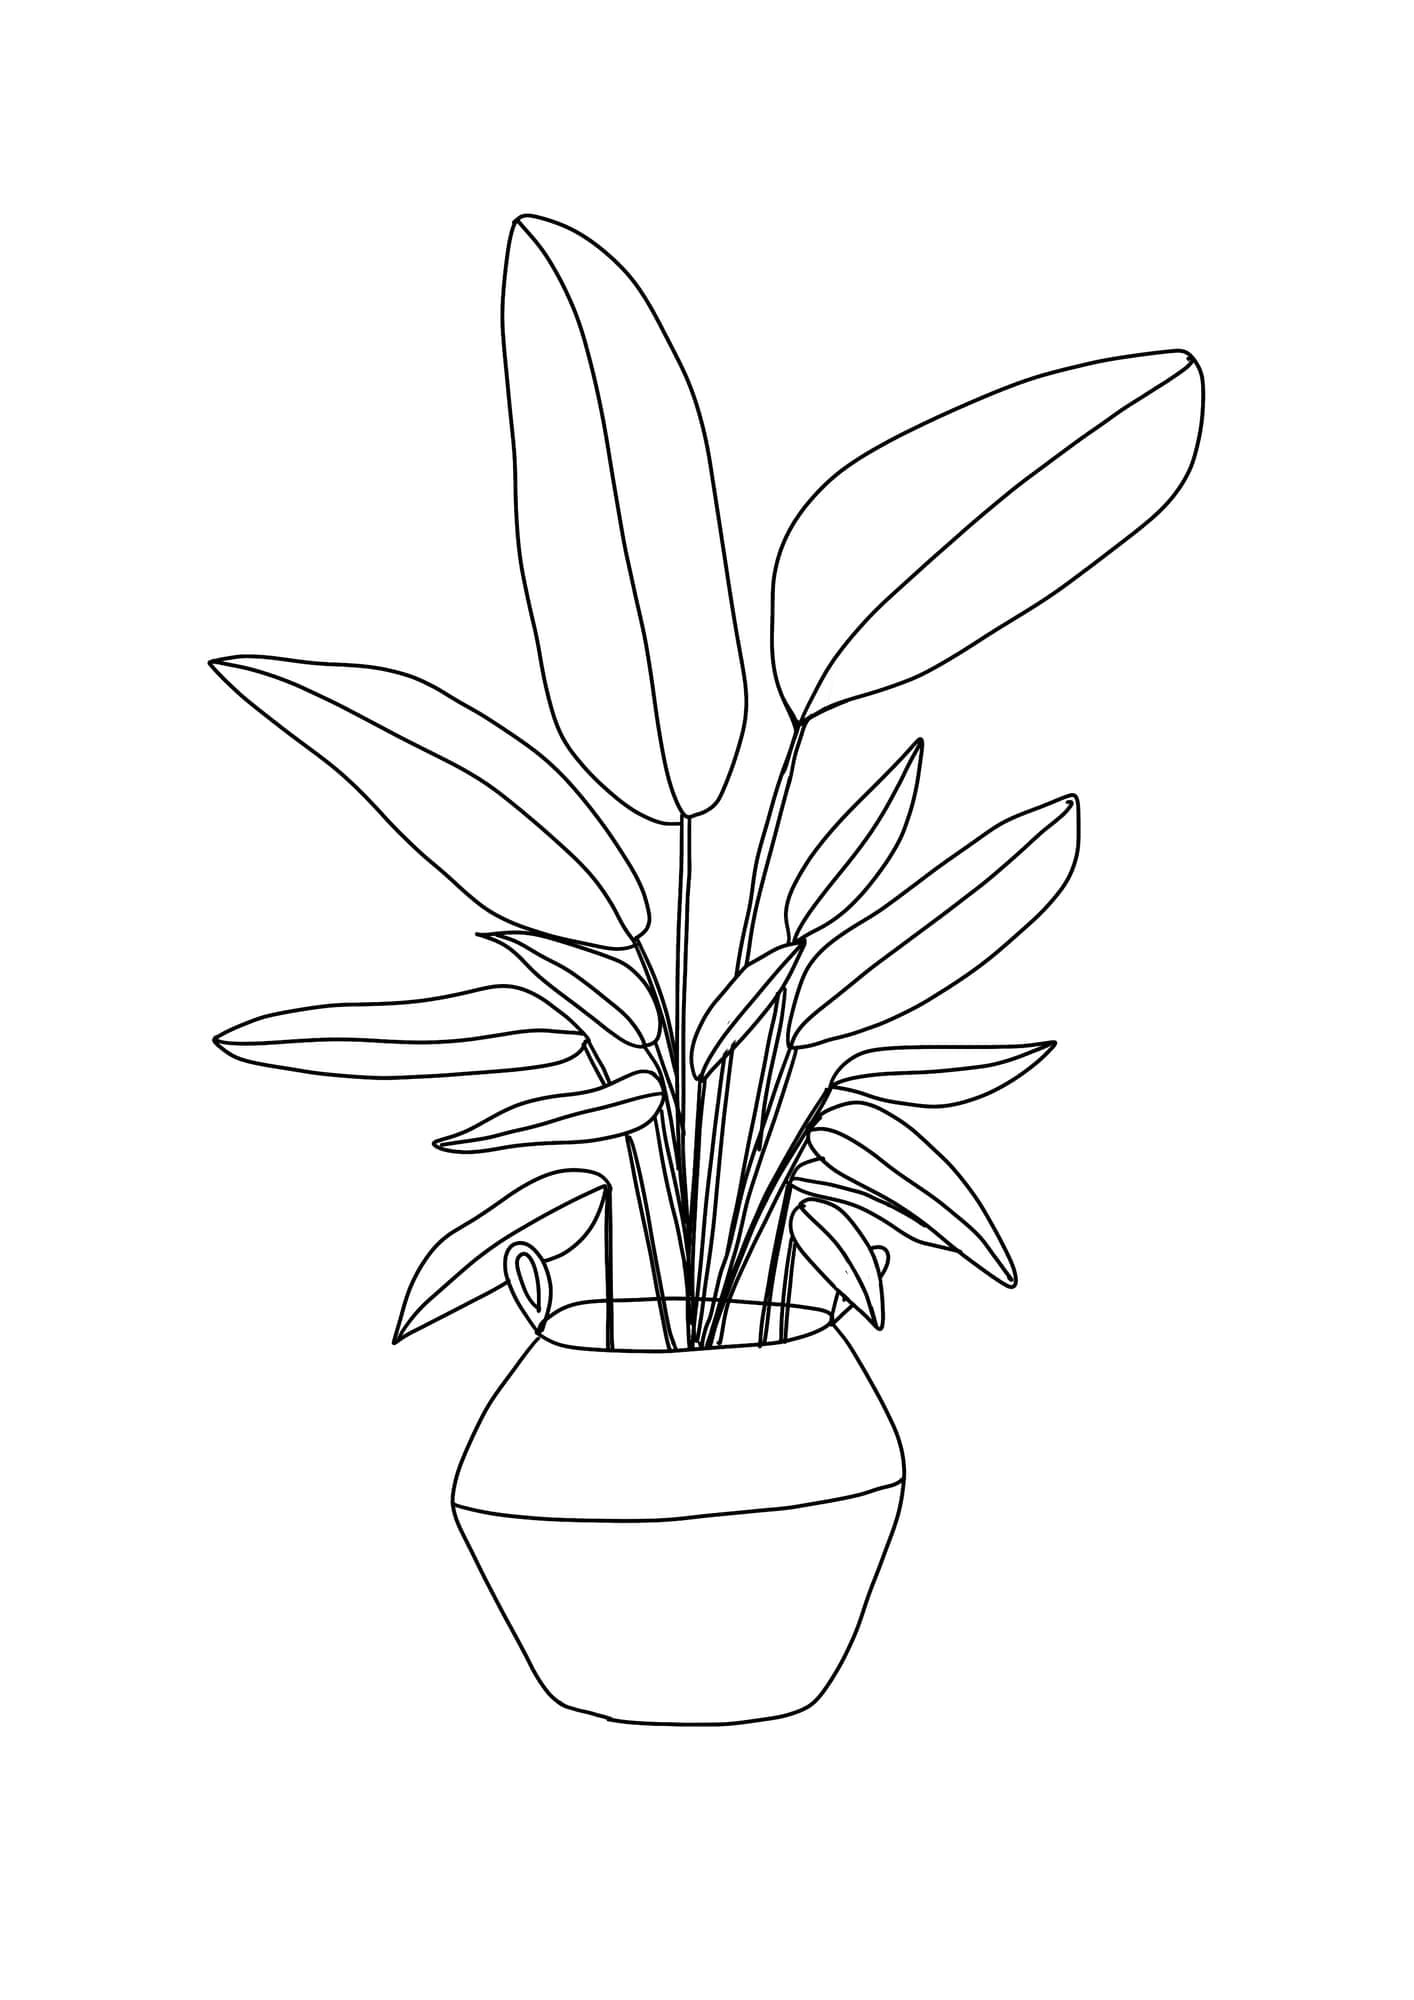
Sketch and leaves
First, transfer the sketch of the strelitzia to your watercolor paper. You can use a regular or even a water-soluble pencil. Afterwards, I prime the individual leaves in a light shade of green and dab wet-on-wet darker pigments into the still wet painting. The light shade of green is mixed with more water compared to the green I use for the wet-on-wet technique.
Step 2
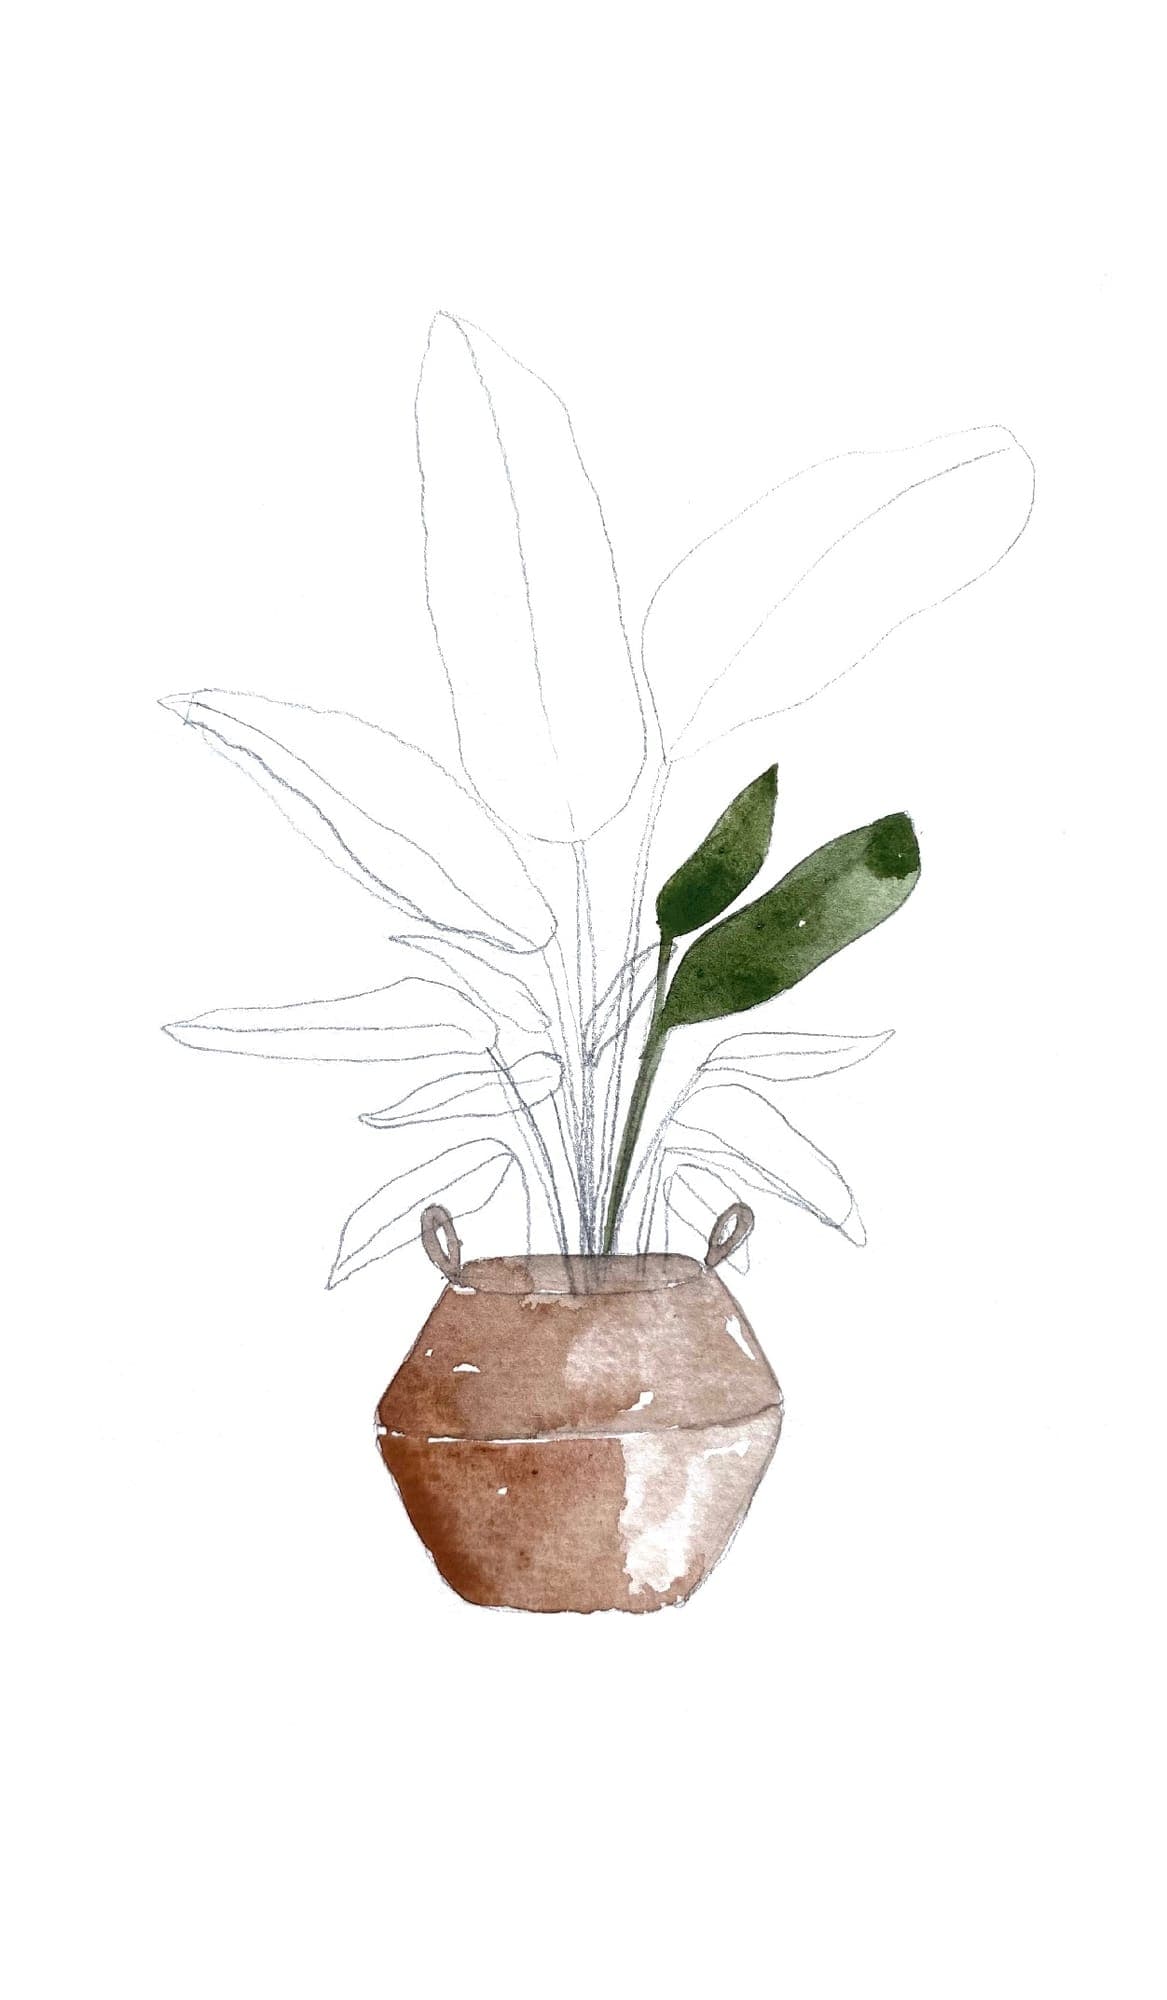
The basket
At the same time, I prime the flower pot or raffia basket in a light brown tone (tundra orange shade). I do make sure to include a light and shadow play here and there during the painting process. Therefore, I also dab darker color on one side into the still wet color area. This also creates a shadow effect. On the side, I remove the paint and pigments with a kitchen towel. You can also blend this contrast with a damp round brush as you prefer.
Step 3
Details
The next step is the details. I stage these with a fine round brush. For this, however, it is important that the substrate is already well dried. Then I paint the wicker in the brown tone used for the substrate and the leaf veins in the corresponding shade of green. If it is still a bit too bright for you, you can also mix some brown (e.g. sepia) with it. This makes the shade even darker. I then also dab the potting soil in the sepia brown tone – voilà, your illustration is already done.